What is Illustrator?
Adobe Illustrator is a program which allows users to create images from basic shapes. Unlike most images we are familiar with, images made in Illustrator are not made of pixels, but rather lines called paths which retain their quality no matter the size of the image. These types of images are known as vector images. Illustrator is a popular program among graphic designers, as logos need to retain a high quality no matter what scale they are at.
However in this particular project, we are using Illustrator differently. By drawing shapes with specific colors and thicknesses, we can use the files we make in Illustrator in order to cut shapes out of plastic with a laser cutter. In this particular project, I am making a key chain.
However in this particular project, we are using Illustrator differently. By drawing shapes with specific colors and thicknesses, we can use the files we make in Illustrator in order to cut shapes out of plastic with a laser cutter. In this particular project, I am making a key chain.
Step by step.
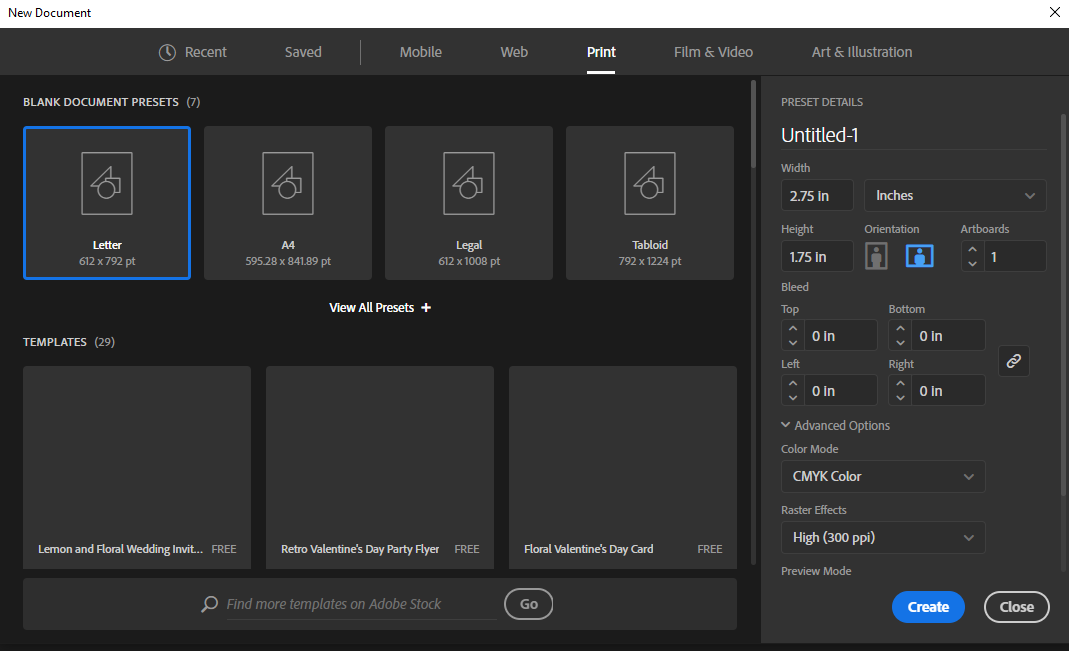
Open Illustrator and create a new file. For this project, I am using a print preset in landscape orientation.
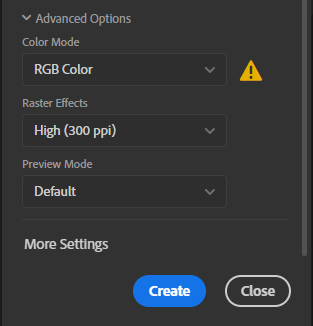
To ensure the laser will be able to read the file, I went to "Advanced Options" and changed the color mode from CMYK Color to RGB Color. After changing the color mode, I selected "Create".
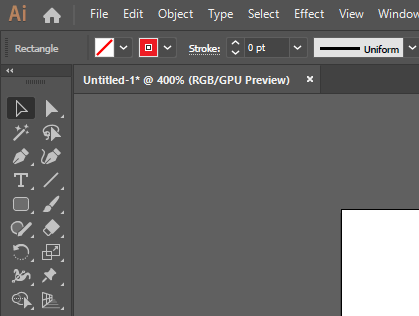
Once the file was created, I made the shape I want my key chain to be. I did this by selecting the rectangle tool and selecting the rounded rectangle. I then drew out the shape on my work space by clicking a spot and dragging out until it was the desired shape and size.
After the shape was drawn out, I changed the stroke by typing in .0001 into the stroke weight bar. I then changed the color of the shape by keeping it selected and clicking on the stroke color (the right colored box on the top left corner of the screen) and selecting any color. Make sure the fill is transparent by selecting the box to the left of the stroke color and selecting the white box with a red diagonal line.
Once a color was selected, I clicked on the color again and moved the G and B bars all the way down to 0 and the R bar all the way up. This makes the color pure red, so the laser can read it correctly. The red color tells the laser to completely cut out the shape outlined in red.
Once a color was selected, I clicked on the color again and moved the G and B bars all the way down to 0 and the R bar all the way up. This makes the color pure red, so the laser can read it correctly. The red color tells the laser to completely cut out the shape outlined in red.
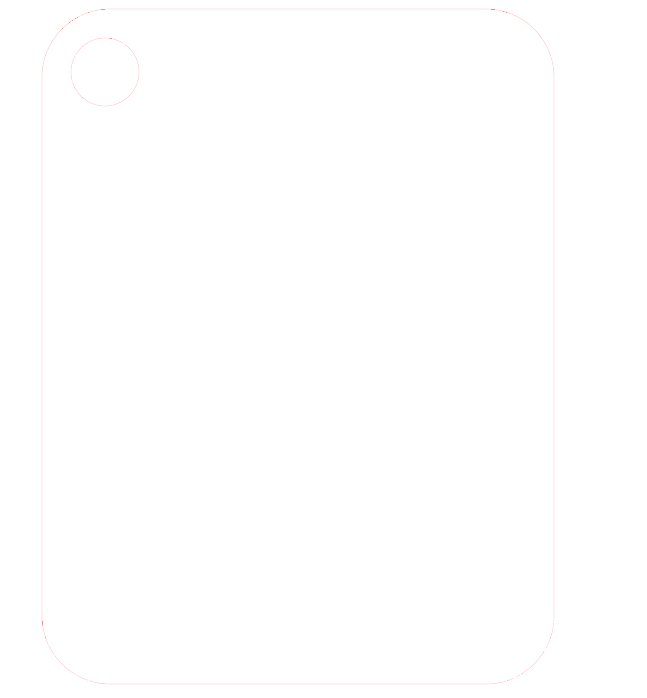
After this was done, I made a hole using the circle tool and placing it in the corner of my shape. With this, I repeated the previous step. At this point both shapes should be barely visible as seen above.
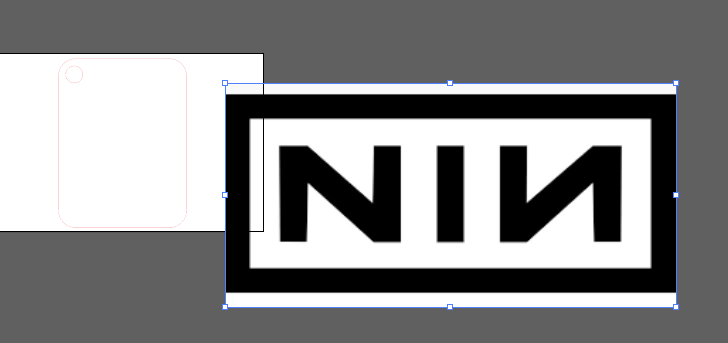
Once the key chain was drawn out in the correct stroke weight and color, I copied and pasted the image I want engraved on the key chain into my work space.
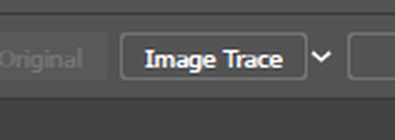
With the image selected, I clicked on "Image Trace" on the top bar of the window.
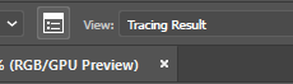
After selecting "Image Trace", I clicked on the white box icon to the left of where it says "Tracing Result".
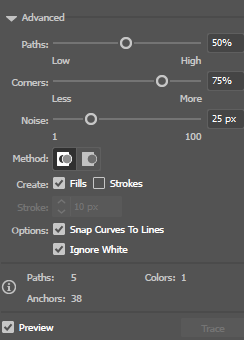
This will open up an options window for the image being traced. I went to "Advanced" and made sure the "Ignore White" box was selected. Make sure to select "Expand" to the right of the tracing result bar. This will turn your selected image into paths so it will be a vector image.
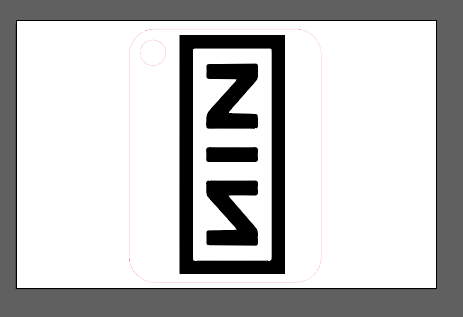
Once this was done, I rotated and adjusted the scale of my image to fit on my key chain. The black color will be fine, as this tells the laser to only engrave the design, not cut the design out entirely.

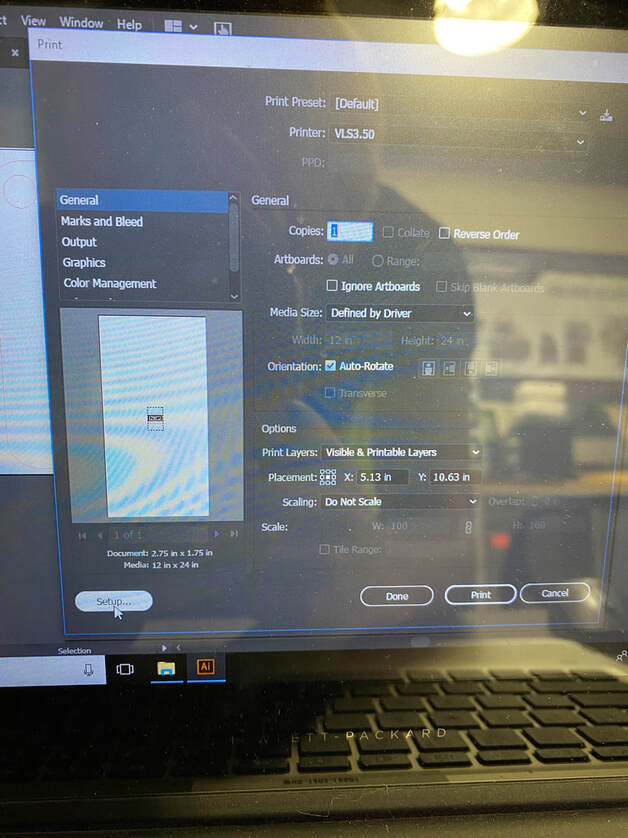
I then loaded my Illustrator file onto the computer connected to the laser. Once it was loaded, I selected "file" then "print".
|
|
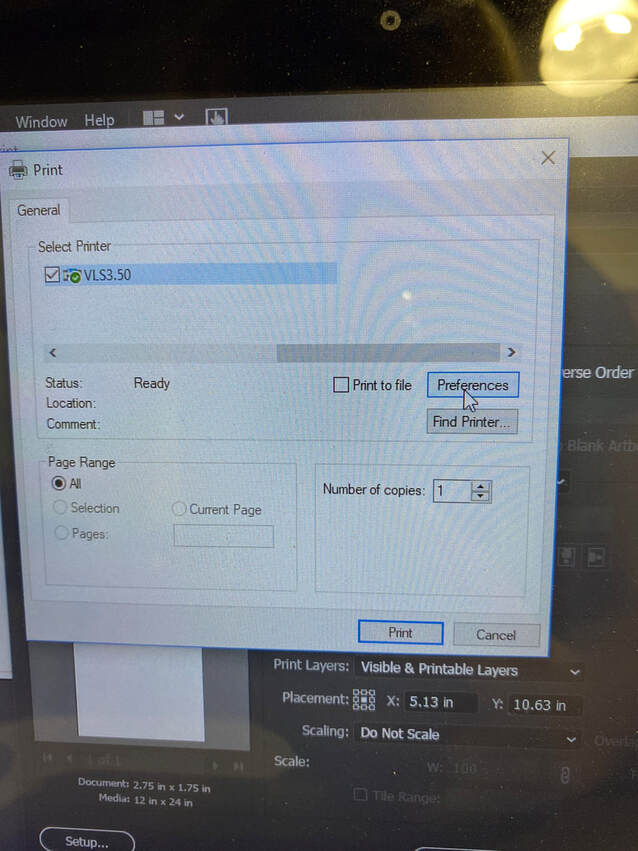
Once on the print menu, I selected the Setup button. Once in the window seen to the right, I selected "Preferences".
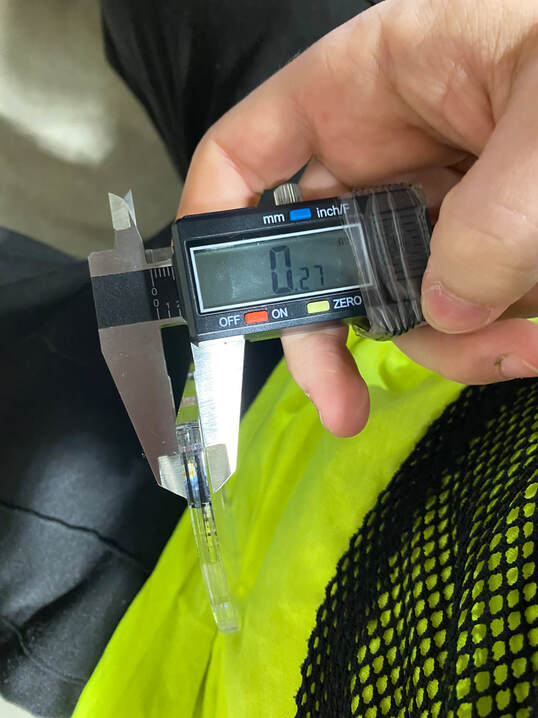
Using a caliper, I measured the thickness of the acrylic I wanted to engrave and cut out with the laser. The thickness of the particular piece of acrylic I was using was 0.27 mm. After selecting "Print" on setup window, the UCP software was opened with my design. In the Materials tab of the UCP software, I made sure extruded acrylic was selected and the correct thickness of my material was entered.
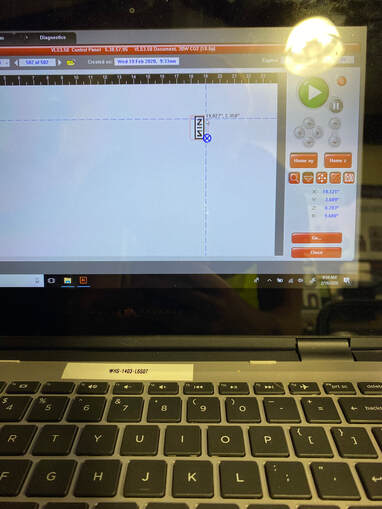
On the right part of the window, I selected the down-pointing arrow. This is the focus tool. I moved the laser to my material by clicking on a part of the screen. Then using the relocation tool to the right of the focus tool, I moved my design to where my material was. Going back to the focus tool, I selected the four corners of my design to make sure the laser would engrave on my material.
|
|
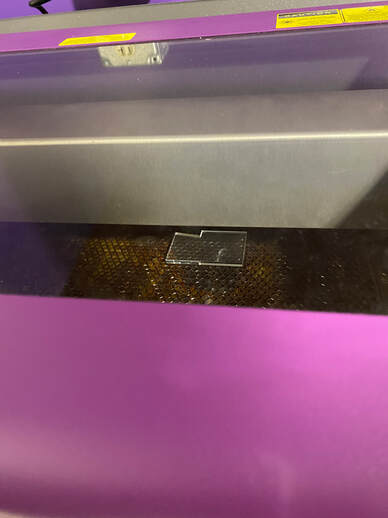
After clicking the large green play button on the right of the screen, the engraving process began.
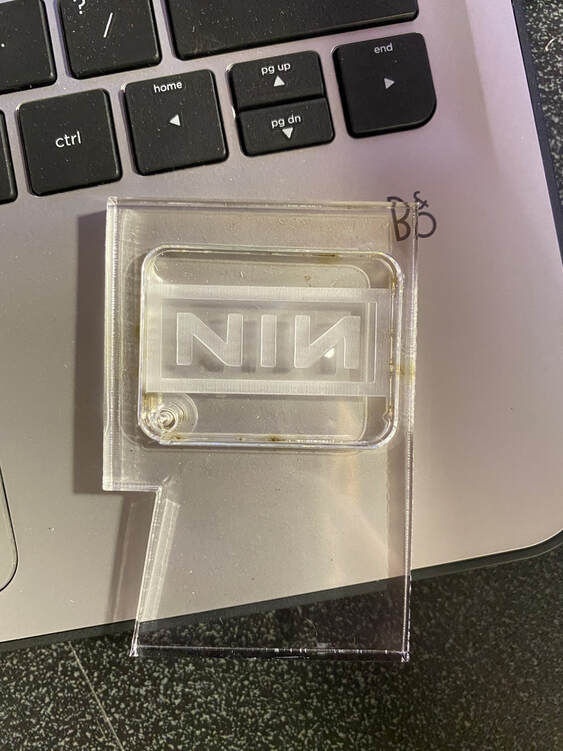
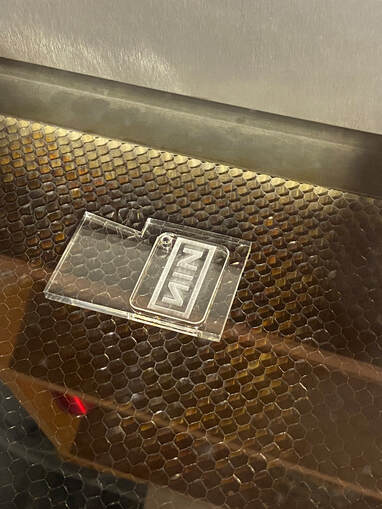
When the laser was finished engraving, I removed the key chain from the laser bed. Then I was able to pop out the cut-out key chain,
What I learned.
Before this project, I was already quite familiar with Illustrator from taking graphic design, so nothing new was learned in regards to Illustrator. However, I was able to familiarize myself with the UCP software and the process of laser engraving.
