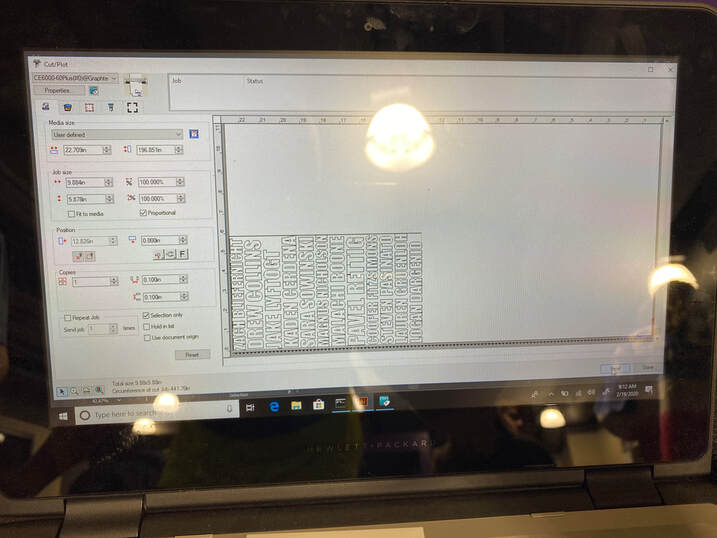
Using Illustrator, a design was created.
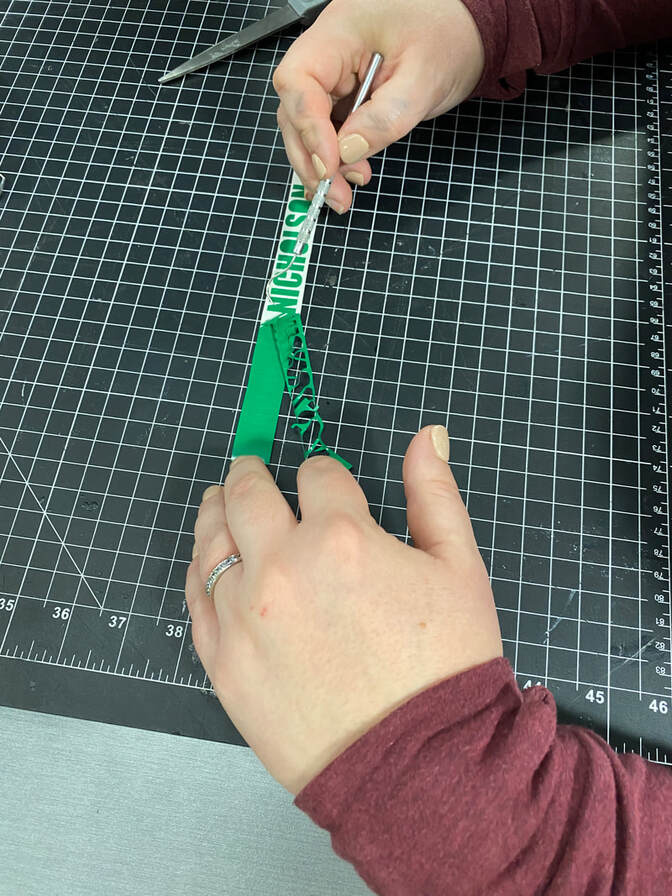
The vinyl decal was cut out by the vinyl cutter and removed from the original vinyl sheet using a blade. With a dental tool, the vinyl surrounding the design - in this case my name - and the empty areas within the design were removed from the vinyl sheet.
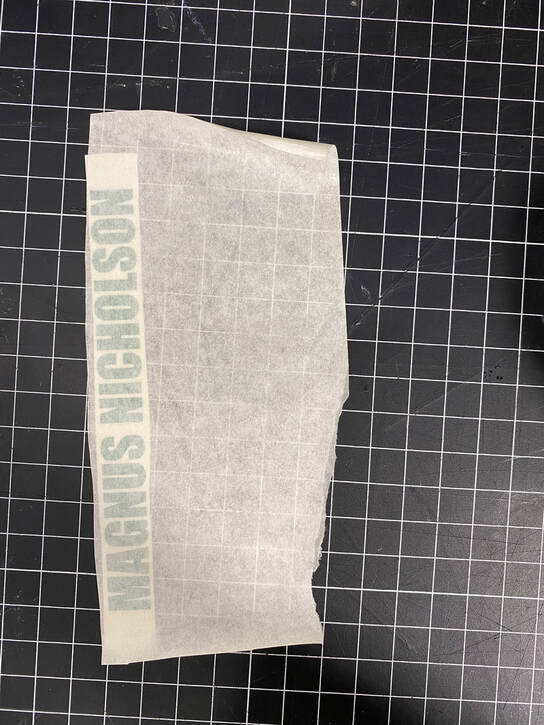
After the decal was completely weeded, transfer tape was applied down onto the decal. A squeegee was used to apply pressure from the transfer tape onto the decal to ensure the decal would stick to the transfer tape. After this was done, the transfer tape was carefully peeled back off of the white sheet.
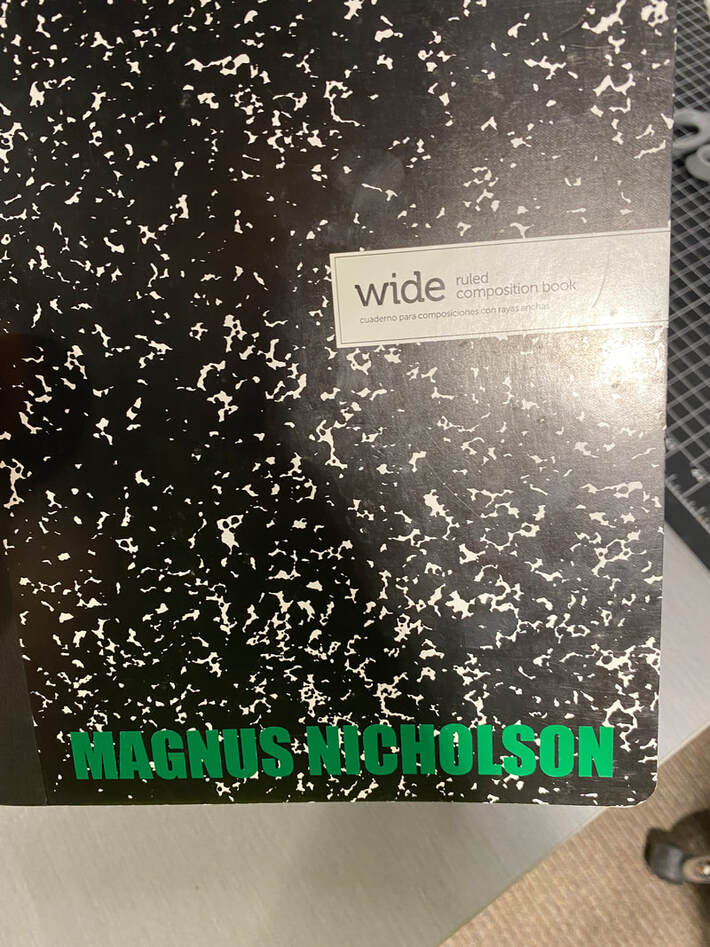
The transfer tape with the decal was then placed on the desired area on my notebook. Using a squeegee again, pressure was applied onto the transfer paper in order to get the decal to stick completely to the face of the notebook. Then, the transfer was peeled back from the decal at a 180 degree angle in a careful manner.
What I learned.
In this process, I learned how decals are made and applied to surfaces, Before I had no idea that transfer tape was used to transfer decals onto a surface. Before I thought the decals were just peeled off like stickers and applied very carefully, but the process used here explained how neat and evenly spaced the letters were.
